How To Remove Stains From Your Wood Floor
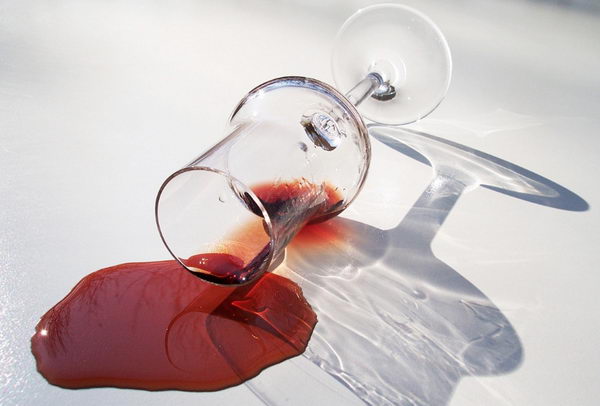
The festive season is well and truly over, so now it’s time to deal with the aftermath of it. You may have had “one too many” over the last couple of weeks, and as a result your home may have suffered for it. With the mulled wine in full flow, it’s often inevitable that there will be some sort of spillage. Stains like red wine can be a nightmare, especially on the likes of wood flooring. However, all is not lost.. We’ve teamed up with Luxury Flooring to bring you a guide on dealing with these sort of stains to ensure that no permanent damage is left!

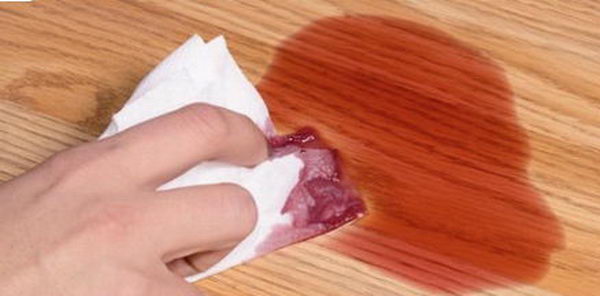
The most important factor when dealing with any kind of stain is to act fast. It doesn’t matter what species or thickness of wood flooring you have, if you are able to wipe up the spillage as soon as it occurs you can massively reduce the risk of staining. Aside of this, any standing fluid that is left on wood floors runs the risk of seeping through to the core of the board. As a result, this can cause the wood to expand, contract and warp in shape. This is why we advise any spillage to be wiped up as soon as possible.

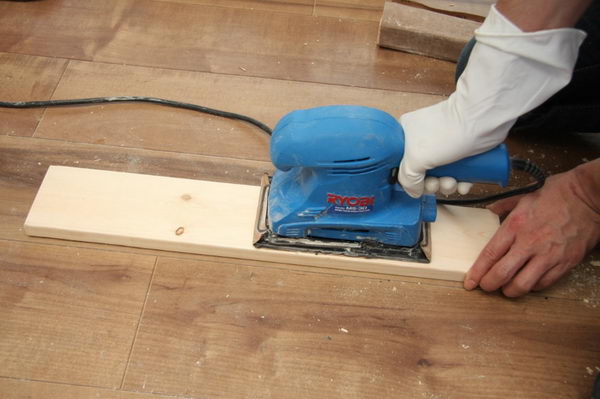
If you have a stain that is pale, or lighter in appearance, then this means that the liquid has only reached the surface layer of the floor. What this generally means is that the stain should be fairly easy to remove. However, if the stain is darker then this unfortunately means that the liquid has seeped further into the grain of the floor. As a result of this, the most effective way to remove the stain would be to sand down your floor, which can be quite a strenuous task but it is one of the most proven methods in getting rid of stains.

But before you head out to buy a sander, there is another way! Slightly less drastic than sanding your floor and a lot less messy, allow us to introduce you to hydrogen peroxide. One of the most common and effective methods used when dealing with stains in wood flooring. Hydrogen peroxide is widely available from multiple online stores, it’s also fairly cheap too. All you need for this process is a bottle of said peroxide, and a cotton cloth or old rag. Simply soak the cloth in hydrogen peroxide and place it over the stain, leaving it for around 6 hours. The point of this is to allow the solution to reach the stain and eventually pull it out of the grain, resulting in the stain being removed from the wood. After 6 hours you need to remove the cloth and any excess solution from your floor, hopefully this should also reveal a clean, stain-free floor. If this is not the case and the stain isn’t fully gone then you can repeat the process, we would however advise waiting 12 hours before doing so.
Now, the above process may not be successful, in some cases it is and in others it isn’t – it entirely depends on the stain. For more stubborn stains, as we mentioned previously, there is always the option of sanding. For the record, we would like to stress that sanding your floor should be a last resort, but there are two real options for you if you decide to go down this route. The first one is that you could just sand the affected area, the second one is that you could just sand the whole floor. Both of these options have their pros and cons, lets say for example if you chose to sand only the stained area, then the rest of you floor could risk appearing uneven. Sanding the entire floor can be an expensive and strenuous task, on the other hand it could seriously rejuvenate other, tired looking areas of your floor. Of course, once the floor has been sanded it will need refinishing, which again can be a mammoth task, but can leave you with a fresh looking floor!
We hope that this guide to removing stains can help both you and your floor, however if you don’t feel confident in completing any of the procedures we have mentioned then it could be worth getting in touch with your floors manufacturer.
